
Printable Planners 101
- Jun 6, 2018
- 2 min read
Updated: Aug 1, 2018

PAPER SIZES
Before we begin, there’s a crucial concept that you need to understand: paper sizes. There are dozens of planner sizes available through dozens of planner manufacturers, so to simplify this, I narrowed it down to the most commonly used paper sizes: Letter 8.5”x11” (US and Latin America) and A4 (Europe & Australia). All my digital files are designed to be printed and cut in half, to fit into either HALF LETTER or A5 planners. This means:
Print on LETTER size paper, cut in half to HALF LETTER.
Print on A4 size paper, cut in half to A5.
PLANNERS SYSTEMS
Now that we’ve established paper basics, next come planner basics. There are many planner systems out there, and which one you pick really comes down personal preference. To be able to use printable planner inserts, I recommend the systems you can add to or move pages in—disc planners and binder planners. (If you’re not familiar with disc planner systems, please enjoy this hilariously over the top video by Office Depot on their TUL disc planner system. )
With these two systems you can curate the content to your liking, and put together your own planner. Within these planner systems, there are many brands and options as well. The easiest way to start is narrowing down by the sizes mentioned previously: half letter and A5. Keep in mind prices can vary wildly (from $8 up to $175).


Disc system Binder system
DISC PLANNERS
Arc from Staples - Junior (half letter)
Levenger Circa - Junior (half letter)
TUL from Office Depot - Junior (half letter)
Martha Stewart for Avery from Staples - Junior (half letter)
BINDER PLANNERS
Franklin Covey - Classic (half letter)
Filofax - A5
Recollections - A5
Foxyfix - A5
Kikki K - A5
Carpe Diem - A5
Generic Binder - A5
DIY PLANNER
If none of the planners really spoke to you, you can always build one from scratch, by buying the parts separately:
Covers (there are many Etsy sellers that make pretty ones)
Discs (Happy Planner, TUL, Arc, sell them)
Hole punch (try to match the disc brand)
TIP: There are a few different disc sizes, the bigger the size, the more pages you can use. Some give estimates of how many pages fit in each disc size, but keep in mind if you’re printing on heavier paper, less sheets will fit :)
BUILDING YOUR PLANNER
Now that we’ve got the basics covered, let’s get started building your planner.
What you’ll need:
Half letter or A5 planner
Paper trimmer
Hole punch (that matches your planner)
Digital Files
TIP: Keep in mind the difference in size from half letter to A5 is quite small, and half letter sheets can be used in most A5 planners and vice versa. A5 sheets are slightly wider and shorter than half letter.
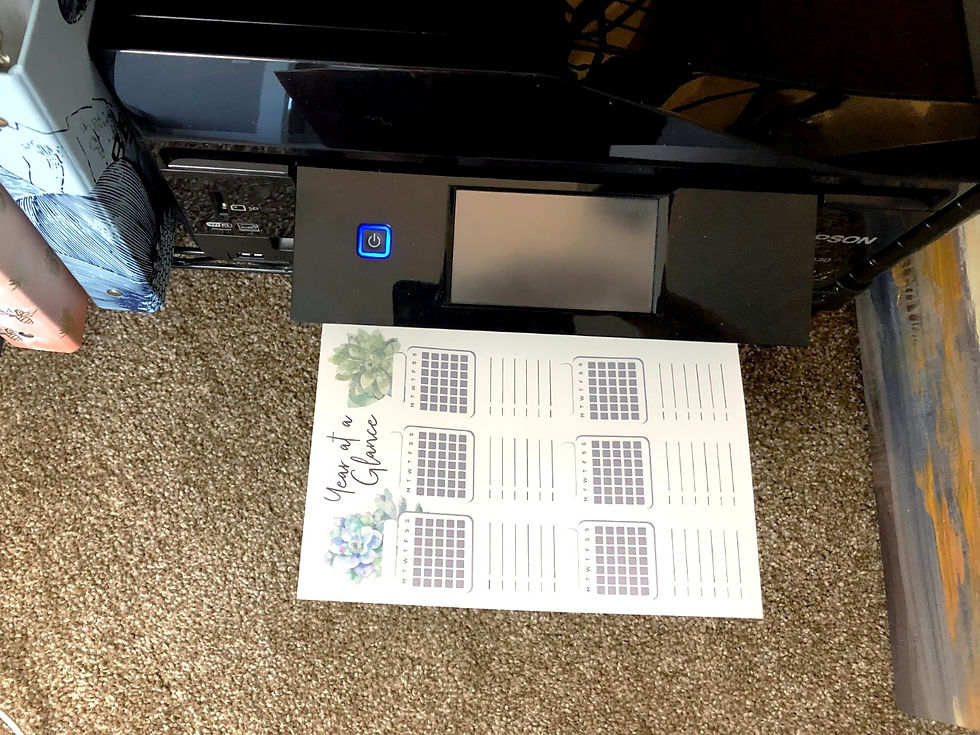
PRINTING
Most PDF files include 2 pages, so you can print FRONT and BACK. For instructions on how to print, click here. Once you have your planner sheets printed, you need to cut them in half, and punch on the wide margin side.


Cut Punch And voila!
TIP: Each system offers their own hole punch, and most can be interchangeable, but double check before you buy from different brands.
If you'd like to get started with your own Printable Planner, check out my Etsy shop:
https://www.etsy.com/shop/BlueOtterPaperCo?ref=l2-shopheader-name
If you have any questions or comments, don't hesitate to reach out!
Warm regards,
Olivia
olivia@blueotterpaperco.com
Comments