
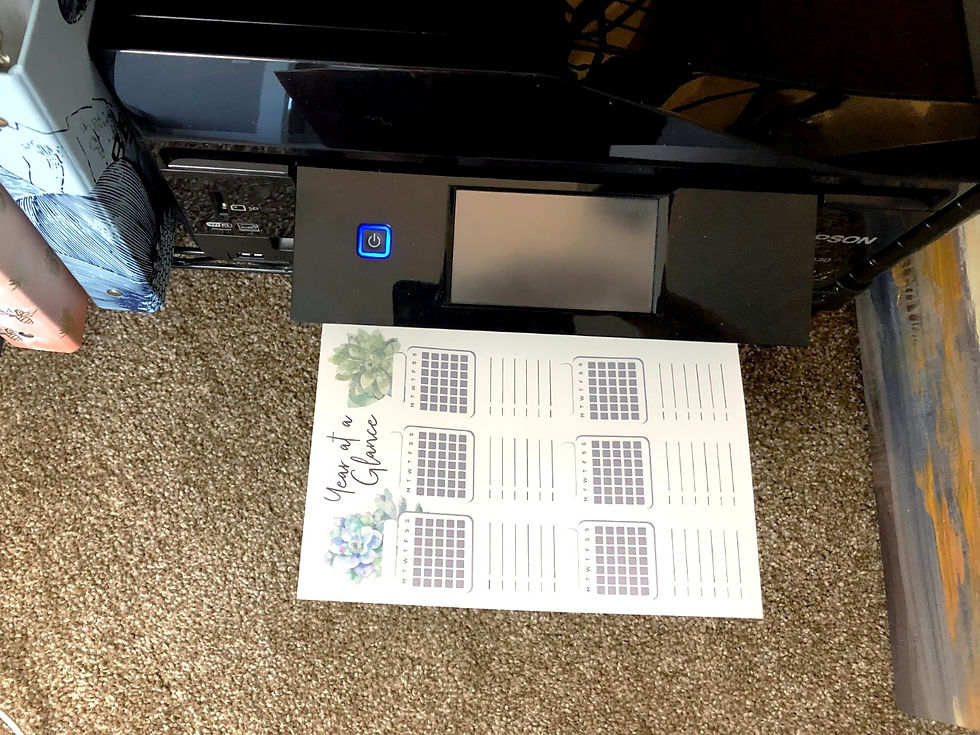
Print instructions
- Jun 6, 2018
- 1 min read
Updated: Jun 8, 2018
Start by opening the file in Adobe Reader. If you don’t have this software in your computer you can safely download from this link: https://get.adobe.com/reader/
Open the downloaded PDF file, in the Print dialog box:
PRINT STEPS:
1. Select printer
2. Properties
- Paper Type: GLOSSY (this will make the colors more vibrant, even though the paper used will not be glossy)
- Print Quality: HIGH
- Keep in mind each printer has a slightly different properties box, so you might have to look for the options.
3. Pages to Print - ALL
4. Page Sizing & Handling - ACTUAL SIZE
5. Orientation - LANDSCAPE
- Make sure the preview shows two sheets in an LETTER or A4 sized page.
6. PRINT!

PRO TIPS
Most printers require to manually turn the pages over to print on the 'back' side, so make sure you understand how your printer works. If your printer does allow for both side printing, make sure to select 'short edge binding', otherwise your back sheet will be upside down.
Set paper type on printer and print dialog box as GLOSSY - even though you are not printing on glossy paper, this will allow for more vibrant colors.
Try to use at least 32lb paper or heavier, to improve print quality and reduce ghosting.
Make sure to do some test printing first, so you don't waste ink or paper.
Remember to have fun! These planner layouts were designed to allow you to pick whatever works for you!
If you have any questions or comments, don't hesitate to reach out!
Warm regards,
Olivia
blueotterpaperco@gmail.com

Comments